If you have recently made reforms at home, you will have realized that the change is not so effective if certain elements are not modified. Undoubtedly, the floor is one of them, although in many occasions we postpone the replacement because it exceeds the budget. However, there is a possibility to considerably reduce the expense: Would you know how to lay porcelain flooring with your own hands?
That’s right, when we do things without resorting to professionals we can save a lot of money. Of course, there are tasks and tasks; it is better not to venture to do something without knowing how. Now, if you are considering how to put porcelain floor easily, we have to tell you that it is perfectly possible as long as you do not do work. So here we are to help you save with one of the most important aspects of your reform.
What materials and tools do you need to lay a porcelain floor?
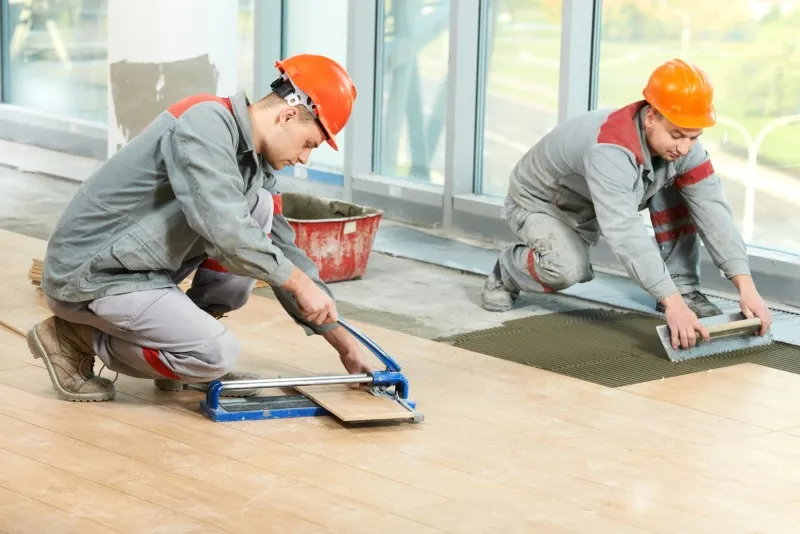
Before learning how to lay porcelain tile flooring, it is important that you know all the materials and tools you will need in addition to the tiles themselves, which will be the protagonists. You should not miss a rubber mallet, a ceramic cutter, a notched trowel and tile tongs.
In addition, it is also important that you have a bucket for grouting, the spacers with which you will separate the tiles and the mortar to place and seal them. As you can see, you don’t need much, but it is essential that you have all these elements and some old clothes to get down to work.
How to lay porcelain tile flooring easily without building work?
Here we are going to explain how to lay porcelain tile flooring in six simple steps. It is important that you follow them all as we indicate them to be able to carry out the work successfully; if you are a professional, every master has his own book, but if you have never done it before, we recommend that you do not experiment too much and follow each of the following guidelines carefully.

Make sure the surface is level
If you are going to lay the floor over a previous floor that was in perfect condition, make sure that it is perfectly level beforehand. With the room vacated you should check that the floor is level. First of all, remove any drops of cement or paint that may have raised the surface. If you find any unevenness, use a leveling paste to make the room completely level.
Leaves the previous floor looking as good as new
Whether you have had to apply levelling paste, or you were lucky enough to avoid this step because your floor was perfectly level, don’t forget to clean it thoroughly before you start laying your new porcelain tile floor.. Whether you use a vacuum cleaner or a broom, you need to remove as much dirt as possible to ensure a good result.
Take the necessary measurements to prepare and cut the tiles.
Although it is something that you can do throughout the process -sometimes it is essential due to small mistakes-, we prefer to have all the material ready before, to avoid stoppages during the work. What exactly do we mean? Taking measurements.
It will be difficult to fit the tiles exactly on the surface to be covered, so it is almost certain that you will have to cut some of them. Measuring them beforehand will allow you to have them cut and place them without stopping in the middle of the process. If the room is completely square, take the reference of the first cut for the rest of the tiles that will go at this height.
Lay the floor using crossheads for the space between tiles.
Depending on the size of the tile, you should apply tile adhesive only on the surface or add it also on the back of each piece -only when they are of considerable size-. In any case, always apply thin layers, of about 5 millimeters, using the notched trowel for its application.
On the other hand, do you remember the crossheads we talked about in the list of materials and tools? Now is the time to use them. You must place them between the tiles to leave a small space between them that we will cover in the next step.
Cover the gaps between tiles with the appropriate material
The time has come to fill the gaps you have left when laying the tiles on your new porcelain floor. You will need a suitable material, there are specific joint mortars for each use, with more or less performance, there are also a variety of colors, so you can choose the one that best matches the floor. Apply it carefully and clean up any remaining residue quickly.
Quickly clean your new porcelain floor
Despite having cleaned the remains when applying the paste between the joints, it is important that when you have finished the whole process, you clean the floor thoroughly again. The final cleaning product is an acid descaler, and remember that any remaining paste or mortar will harden as it dries, which can make it very difficult to remove.

How to lay porcelain flooring by choosing the right tile
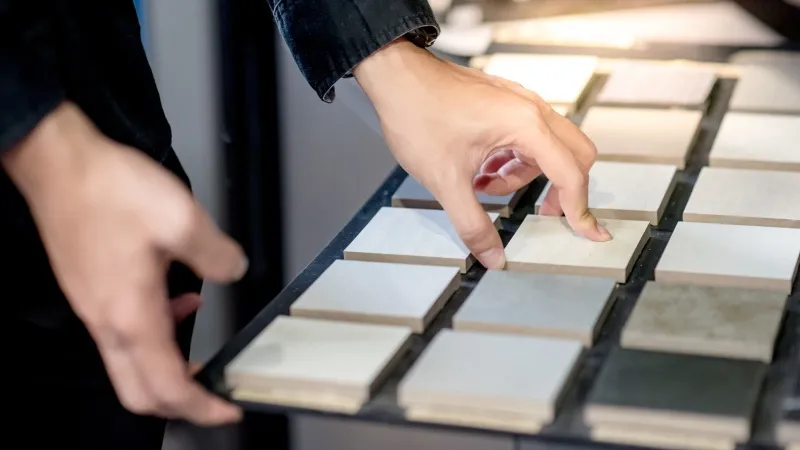
Finally, before carrying out a process such as laying porcelain flooring, it is important to choose perfectly the tiles that we are going to place. It will depend mainly on your tastes, but remember that you can take advantage of the change to gain in brightness or sense of space, for which you should choose light tones. On the other hand, if you prefer an elegant touch that does not require a lot of cleaning, dark tones are your best option.
Why learn how to lay porcelain tile flooring
Although at the beginning of the article we already gave you some clues, after having explained the process we can confirm the obvious: if you learn how to lay porcelain flooring with your own hands and without having to do any work, the only expense will be the materials -which you can also choose according to your tastes and budget-.
Keep in mind that labor in this regard has a cost and that none of the tile models that you are shown may be to your liking. However, by learning how to lay porcelain tile flooring and carrying out your own renovation, you can use as many suppliers as you need to find the right material and create a room that is completely designed to your liking.


