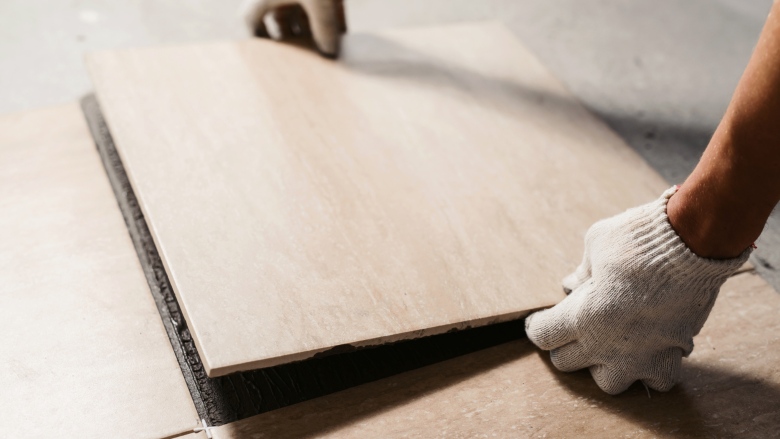
The moment you’ve been waiting for has finally arrived: it’s time to change the tiles in your home. And why hire someone to do a task you can do yourself?
You too can lay tile if you use the right tools, make the right calculations and follow the right technique; these are the foundations for a successful result. If you have all this in place, read on to find out how to lay tile step by step.
Basic tile-laying materials and tools
To lay tiles it is essential to have the basic materials and tools for this purpose. These are the main materials for laying tiles:
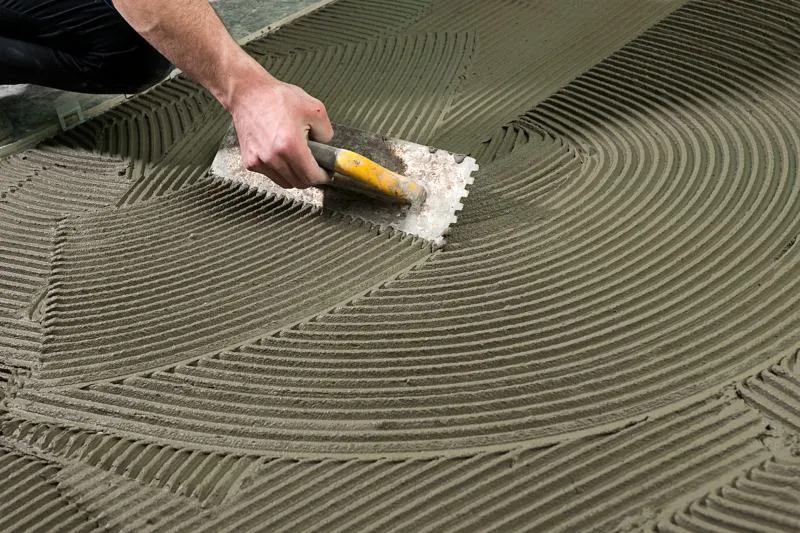
- Tile adhesive and trowel and trowel: tile adhesive is the preferred bonding material for tile installation. The classic one is suitable for interiors; the porcelain tile can be applied both indoors and outdoors; and the flexible one is suitable for application on deformable or dilatable substrates.
- Groutis a material composed of a mixture of cements, aggregates, additives, pigments and synthetic resins which, together, determine the different types of grouts and their color.
- Tiles: there are different types of tiles depending on their characteristics and it is important to choose the right ones according to the room to be decorated, the needs and personal tastes.
Now that we have seen what the main tile-laying materials are, we will tell you what the basic tools are:
- Bubble level: it is essential for correcting levels between tiles, although it should be mentioned that it is only useful for leveling over short distances.
- Gloves and goggles: it is important to have these two tools to be protected. In addition, the tiles themselves are often sharp, so it is advisable to handle them with gloves.
- Marker pen, pencil and paper: they are used to note measurements, make calculations and even to draw special cuts on the tiles themselves to have a guide.
- Flexometer or tape measure: with this tool, horizontal and vertical distances can be measured easily and accurately.
- Chisel and hammer: they are used to get rid of the old tiles, if there are any. Just use the chisel and hammer to hit the ends of the tiles until they are removed.
- Crosspieces and wedgesbetween tiles to ensure that they have the same spacing.
- Rubber mallet: allows small, accurate blows to be struck on the tiles without the risk of damaging or breaking them, which improves their fit with the adhesive and the substrate.
- Electric tile cutter: uses a diamond blade and a specific amount of water to reduce both the temperature and the dust generated when cutting tiles. It is very useful in those cases where a precise cut is required.
- Disc grinder: it has a diamond disc that allows you to cut tiles cleanly at any angle. With enough practice, it can be used to create the most original designs.
- Drill: Sometimes it may be necessary to drill a tile with the help of a drill. For this purpose, it is recommended that you use a masonry drill bit, since they have a tungsten carbide tip, ideal for drilling tiles.
- Notched trowel: its function is to distribute the tile adhesive cement in troughs so that the tiles settle in the right and necessary amount of material. It has two parts, a smooth one with which you apply and spread the tile adhesive cement on the wall or floor, and a toothed trowel with which you get the grout or troughs.
- Rubber trowel: used to distribute the grout homogeneously to fill the joints.
- Sponge: once the process is finished, the sponge will help to make a first cleaning for a perfect finish. cleaning for a perfect finish.
Now that you know what materials and tools you need, you can learn the steps and start laying tiles.
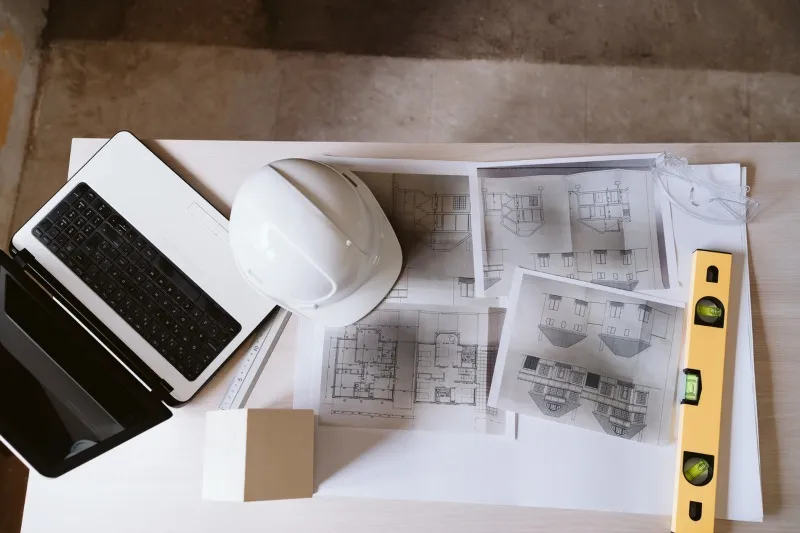
Tile laying according to the room
Depending on their place of installation, you can lay tiles indoors or outdoors. Here are the most common types of tiles:
Porcelain stoneware
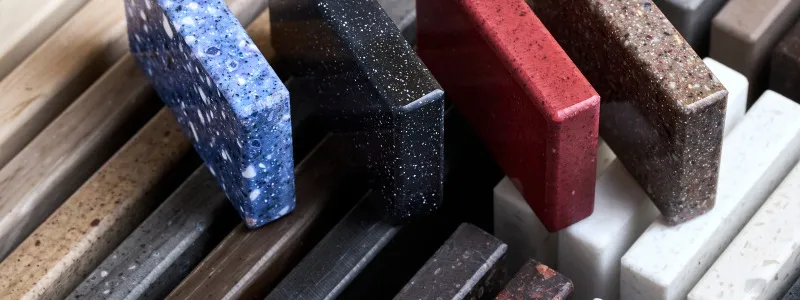
It is one of the most common materials. Their base color is determined by the addition of colorants to the mass, so they can present all kinds of aspects.
Porcelain stoneware is a very versatile material that gives rise to tiles with marbled, mottled and even relief patterns that simulate natural materials such as wood or stone. Therefore, they are perfect for decorative purposes in bedrooms, living rooms or other rooms. In addition, it is one of the cheapest materials.
Ceramic tiles. White paste and red paste.
These are the typical tiles that can be found in countless kitchens and bathrooms. If something works, why change it? This material has always been the favorite in this type of rooms, and it is for a good reason: ceramic is an easy to clean, resistant and, in addition, cheap material. In addition, its installation is very simple, so you can’t ask for more.
Terracotta or terracotta
Terracotta or terracotta tiles have a very characteristic look and a unique personality. They are usually used in rustic style floors, especially in those places or rooms where an antique atmosphere is sought.
Glass
This type of cladding is made of glass and is intended for areas or rooms where humidity predominates, such as kitchens, bathrooms or saunas. It is a watertight and resistant material, so it is also suitable for swimming pools and spas.
How to lay tiles: step by step?
Now you just need to find out how to lay tiles step by step, don’t miss it!
1. Take measurements
The first thing you have to do before anything else is to measure the surfaces where the tiles are going to be laid. This surface is very important both for buying the tiles and for calculating the tile adhesive and grout needed for laying them.
To measure the surfaces, measure in meters the height and width of the walls and multiply them to know them2 of each wall. If you have windows or doors, you must also measure them to subtract the meters from the previous surface. You must perform these same steps on each wall. As in all the encounters with windows, walls and ends of a wall with another you have to cut the tiles, always add to the total amount a 10% or 15% more of total surface. Tiles are usually purchased by square meters, so the result will serve you for the necessary purchase.
2. Remove the old tiles, if any.
If there are already old tiles in the room where you want to install them, remove them before you start working. To do this, use a chisel and a hammer to hit the ends of the old tiles until they fall off.
3. Prepare the surface
When the wall is smooth, clean the surface of the room well to remove any dirt and dust. This will ensure that the tiles adhere much better to the surface you want to cover with them.
If you are going to tile the wall and it has any cracks or moldy areas, you should fix them before starting the process. It is also advisable to wet the walls before laying the tiles so that the cement adheres much better to the surface, especially in the warmer months.
4. Choose a design or form of placement
Now it’s time to choose the way you are going to lay them. The main ways to lay tiles are as follows:
- Aligned horizontally, vertically or diagonally.
- Vertical, diagonal or offset flashing.
- Horizontal, vertical or diagonal dowel.
- Crossed line.
For example, if you place the tiles horizontally or diagonally, you will get a feeling of spaciousness. Of course, the size of the tiles in question also plays a role in this aspect: the larger they are, the greater the feeling of spaciousness and vice versa.
5. Prepare the tile adhesive
Mix the cement with water in the proportions indicated by the manufacturer. Stir the mixture until the desired consistency is obtained. Don’t forget that there are many types of cement on the market, so choose the most appropriate for your case according to your needs.
6. Lay the tiles
Use a notched trowel to apply and spread the tile adhesive on the surface, using the smooth side of the trowel to apply and spread the product and the notched side to create grooves to better hold the tiles.
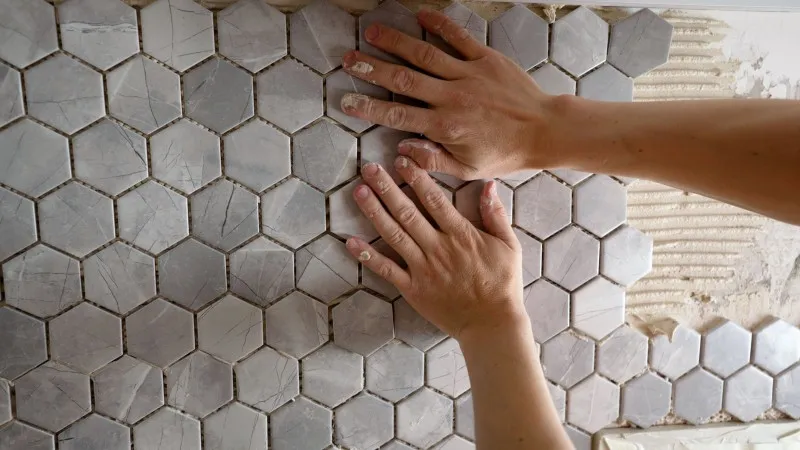
Then, glue the tiles to the surface, apply light pressure and tap them gently with a rubber mallet so they don’t break. Use the spirit level to check that the tiles are level.
If necessary, cut the remaining tiles to cover corners, edges and other parts of the room that need it. Then set the tiles by pressing and tapping them with the mallet. To keep them straight, don’t forget to place crosspieces in the gaps so that the size of the expansion joint is always the same.
7. Apply the grout
Wait for the cement to dry, usually 24-48 hours, then remove the crossheads and prepare the grout according to the manufacturer’s instructions. Apply the paste with a rubber smoothing trowel and fill all the joints well; finally, use the smoothing trowel to remove the excess product.
8. Clean up, and you’re done!
Once the grout has dried, clean the surface with a damp sponge and remove all traces of the product. Wait for it to dry and then wipe the entire surface with a cloth to remove the dust generated by the grouting process. And that’s it, your tiles are ready!
As you have been able to see, laying tiles is a simple process if you have the materials, tools and basic knowledge to do it. It is not necessary to go to a professional to get a magazine finish, although if you have any doubts, you can contact us.

