If you are thinking about renovating the look of your home, a good idea may be to start by changing the interior doors. Also, if you want to do it on your own to save money, you first need to know how to put doors.
This is a simple task, but it will give a new touch to your home, as its old and distressed look will be replaced by a completely rejuvenated and modern one.
Before getting down to work, it is important that you know all the steps on how to put doors and all the aspects to take into account to obtain an optimal result. Read on to find out which ones!
Elements of a door
Although it may seem superficial, if you want to know how to put doors in the right way, it is important that you know the elements you will be working with.
- Leaf: this is the door itself. It can be solid or partially hollow. While the former tend to be more expensive, although they are also of better quality and provide the door with thermal and acoustic insulation, hollow doors are more economical and very popular due to their wide variety of wood and lacquered textures.
- Hinges: connect the door to the frame, allowing the door leaf to move. A typical door usually has three hinges, although it can have up to four if it is a very heavy door.
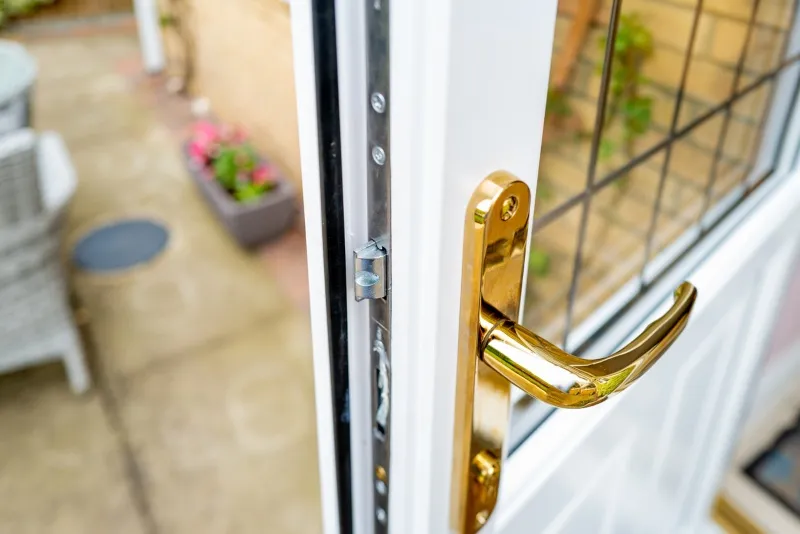
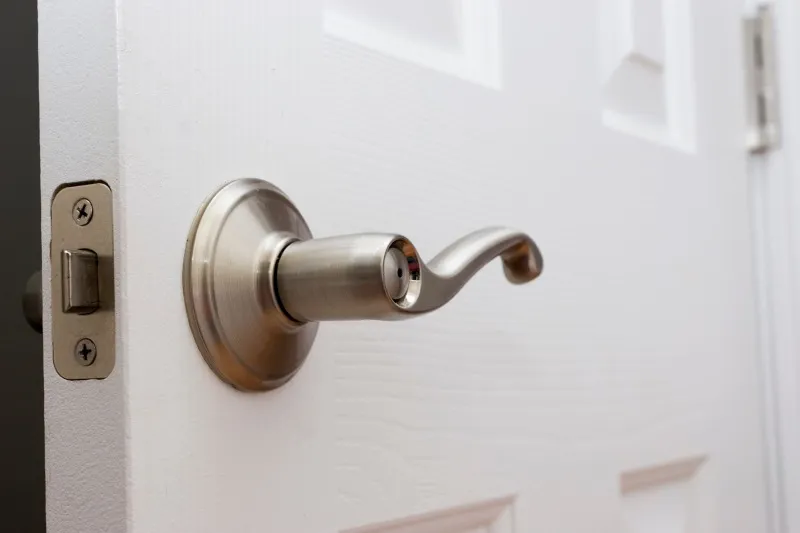
- Latch: this is a relatively simple mechanism that allows the door to be opened and closed.

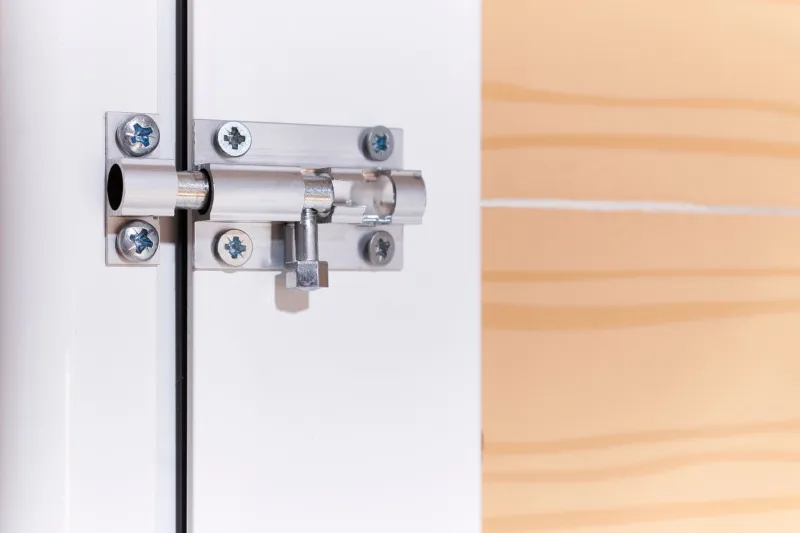
- Latch: this mechanism locks the door opening.

- Handle or rosette: a metal plate on which the latch is placed. If it has a rectangular shape, it is called a handle; if it has a circular shape, it is called a rosette.

- Pre-frame or pre-frame: this is the structure already pre-installed on site and which delimits the opening for the door. It is usually made of wood.
- Frame: also called frame, this is a wooden structure that is attached to the subframe. The hinges that attach to the door leaf are placed on the frame.
- Weatherstripping: serves to optimize the insulation of the door. Nowadays, it is usually included with the door assembly itself.
- Flashing: also called trim or jamb, it is used to cover the joints between the frame and the subframe so that the joint is concealed and the result is more aesthetically pleasing.
Basic materials and tools: how to install doors
Now that you know what are the elements of a door, we present the materials and tools you need for how to put doors step by step. And, to ensure the success of the installation, you can not miss any of this during the process:
- Cross and flat screwdriver: the former owes its name to its cross-shaped tip. This tip turns fasteners of the same shape, such as screws. The same happens with the flat screwdriver, which owes its name to the fact that its tip has a flattened shape. They will be very useful to correctly fix the different elements of the door structure.
- Pencil: it is used to mark the different measurements of the door in order to place each element in the correct place.
- Spirit level: it will be of great help to make sure that the door is not placed unevenly or sagging. Thanks to this tool, you will be able to easily correct this problem in time, before it becomes a headache.
- Measuring tape: as its name suggests, it will be useful to take the measurements of both the door and the place where you want to place it, and thus ensure that the installation is successful.
- Wooden wedges: consist of triangular-shaped pieces of wood ending in an acute angle. Their purpose is to immobilize an object. It will be of great help to install the door, since it will allow to wedge the frame.
- Wood drill: it is important to make sure you have a drill specifically designed for drilling wood (not hammer), as well as the right drill bits.
- Drill bits for wood drilling: there are different drill bits for wood drilling.
- The three-prong bit, with one prong in the middle to center the bit and others on the sides to cut the wood.
- The salomonic or long drill bit, with a conical tip and two blades to remove chips.
- The flat drill bit, for drilling holes in wood over 19 mm in diameter.
- The extendable drill bit, with a central tip and a blade that regulates the diameter of the hole up to 60 mm.
- The milling bit, for making blind holes into which cup hinges are fitted.
- The crown bit, for drilling large diameter holes.
- Hammer, nails and screws: with the help of the hammer you will be able to fix those elements that have been left a little loose or that do not have enough diameter to fit in the drill bits.
- Polyurethane foam: it will act as a thermal bridge, which will strengthen the structure and eliminate the transmission of cold and heat to save heating and cooling costs at all times of the year.
- Mounting adhesive: adhesive mastics that stand out for their adhesion and excellent results, especially in vertical applications. They are very useful for replacing nails and screws when installing the door frame, for example. This allows fewer holes to be drilled in the structure and in the wall.
- Mitre saw: this tool will allow you to make wood cuts. With it you can direct the movement of the blade to achieve more precise cuts, especially angular and bevel cuts.
How to install doors step by step; let’s get started!
We assume that you already have all the necessary tools and materials at hand. Well, it’s time to get down to work. Read on to find out how to put up doors step by step:
1. Take the measurements of the door
The width of a door will depend on its dimensions. Therefore, before choosing a specific door model, you must take into account the furniture that will pass through that door, as well as the dimensions of the opening in which it will be installed. Doors usually have these standard measurements:
- For the doors: 62.5 cm, 72.5 cm, and 82.5 cm.
- For double doors: 125 cm and 145 cm.
However, you can find fixed doors measuring 105 cm or 115 cm.
If you are replacing an old door, you will also need to take measurements, because even if the dimensions of the door leaf are the same, the size of the opening may not match. To do this, you must remove the frame of the old door and measure the remaining gap. You also have to check what will be the proper opening direction for the door, which is set from the part that is pushed to open.
2. Make sure the pre-seam is level.
To continue installing the door, make sure that the frame is level on both the inside and outside. To do this, use a spirit level. If you do not have a spirit level, you can also use a metal square to check that the angles are perfectly straight, or measure the diagonals, which should be equal.
Once you have checked that the subframe is level, it is time to install it. To do so, follow these steps:
- Fix the nails in the form of a cross in the uprights of the frame. To do so, place them 30 cm from the ground and 30 cm from the top and middle part of the pre-fence.
- Place the pre-frame in the hole and tighten it. To do this, use the wooden wedges.
- Verify that the assembly is level. Again, make use of the spirit level. It is important not to skip this step, as it will condition the whole process of placing the door.
- Cover the pre-framing lugs with plaster. Also fill any gaps with polyurethane foam.
What if there is no sealing?
Sometimes, when installing an interior door, it is possible that there is no frame. In this case, you will have to install it yourself. You can buy it ready-made or disassembled, with a standard size that can be used for different door widths. The uprights of the frame usually incorporate some pins, so it is as simple as fixing it to the wall with plaster and esparto or polyurethane foam.
The most important thing is to keep it square and level. To ensure this, the preframes usually include reinforcements at the upper corners and a strip perpendicular to the uprights on the inside. You will have to remove them once you have fixed the pre-fence to the wall. Also use shims to level it, both horizontally and vertically.
3. Install the door frame
Before proceeding, you must follow these steps:
- Present the door in its dimension and verify its dimensions and opening.
- Check that the blade has a clearance of approximately 5 mm at the bottom. This ensures that it will not rub when opening or closing, and will also allow air to circulate properly.
- Check the levelness of the door. Again, use the spirit level.
- Check the squareness of the assembly by measuring the diagonals. If the diagonals have the same measurement, it means that it is correctly squared.
That done, it’s time to start assembling the door:
- Shim the frame with the wooden wedges so that it does not move, adjusting it with the hammer and checking that the level of the door is still correct.
- Screw the frame to the subframe using the hinge holes.
- Fill thegaps between the frame and the subframe with polyurethane foam. If the width of the frame and the partition do not match, you will have to align the back with the partition.
4. Place the hinges
To attach the hinges, mark the location of the hinges on the door frame with a pencil. The hinges are 10 cm from each end and the third hinge is right in the center. On the other hand, the marking will be done on the edge, since this is where you will make the rebate, which can be done with a chisel and a hammer.
Install the hinges on the door, and mark the location they will have on the frame, where you will also have to make the respective fretwork.
5. Install the door lock
As a general rule, locks and handles come with an installation template that allows you to identify where to drill the holes in the door.
- Measure 90 cm from the floor and place the template on the edge of the door.
- Mark with a pencil and, using the drill and a drill bit, drill a hole on both sides for the knob.
- Drill a hole for the sheet metal in the door frame, in addition to the rebate.
- Proceed with the installation of the handles and the metal rim plate.
6. Cut the wedges
Use the saw to cut the wedges so that they are flush with the frame. If you don’t want to, you don’t have to saw them all the way through; you can simply mark the cut and give them a light tap with the hammer to remove the excess.
7. Place the jambs or flashing.
Mount the jambs or flashing to fill the gaps and flaws caused by the work. You can do this with the help of the assembly adhesive and reinforce it with headless nails. Use a rubber hammer and the necessary brackets to secure the door.
Finally, fill the cavity up to the wall with the polyurethane foam.
- Place strips of cardboard about 10 cm wide on both sides of the groove in the boards, at the height of the hinges and the locking plate. This cardboard will protect the frame if the foam overflows.
- Apply the foam between the wall and the frame to eliminate any gaps.
And that’s it! Your door is ready!
Now that we have told you how to put doors, you will have realized that it is a simple process if you have the materials, tools and basic knowledge for it. It is not necessary to go to a professional to get a magazine finish, although if you have any questions, you can contact us, we will help and advise you in everything you need.


