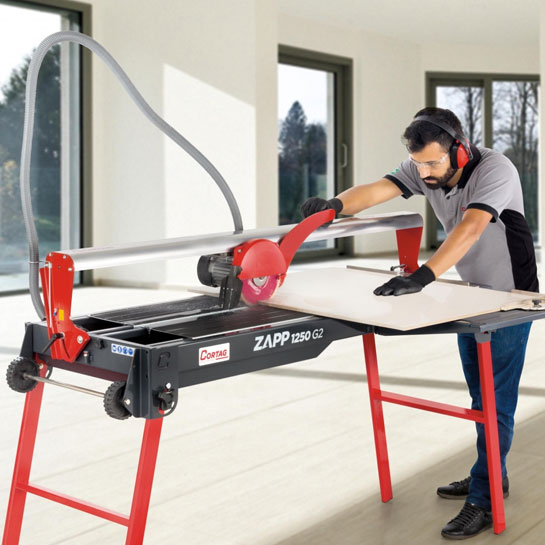
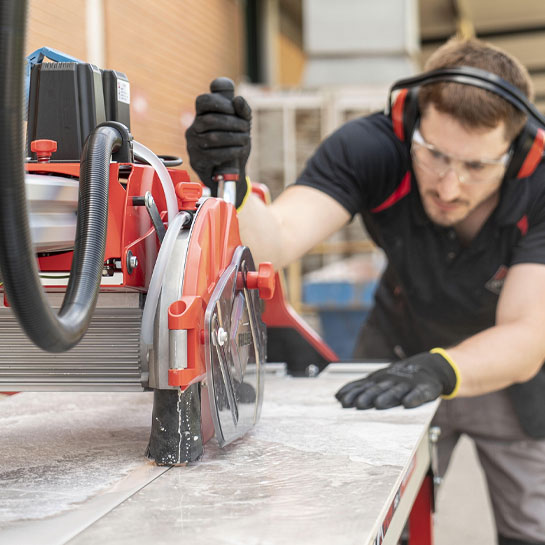
Choosing tile for floors or walls is to bet on an elegant and high quality material. To achieve a proper placement it is important that the cut is correct, for this you need the precision that gives you a tile cutting machine. In this article we tell you how to cut the tile and the laying process.
Operation of tile cutting machine
This type of manual machines are used to perform cutting tasks on very hard materials such as tile. The design of these models is quite simple, they have a guide area through which a blade slides, which is responsible for generating the cut in the piece. For this, the manual force of the operator is used.
This work is done in a safe and practical way without the need to use excessive force. On the market you can find a large number of different models. The following criteria should be taken into account when choosing one:
- Typical material. The hardness of the material you will be cutting on a frequent basis is key to choosing the most suitable type of blade.
- Size. The length of the guide leads to the maximum size of the workpiece you can work with.
- Cut. Straight, repetitive or diagonal. The most common option is to use a straight cut model with which you can work different angles.
- Drive. Although the most common models for renovations are manual, there are electric options that are perfect for large jobs.
Advantages of the cutter
The tile cutters have multiple advantages that will help you in your work with tiles. Among them are the following:
- Easy transportation. The manual models have a compact size that allows them to be easily transported from one point to another. In addition, they take up little space in the work area.
- Agility. They are always ready to perform the task, you just have to present the piece and pass the blade.
- Saved. Light in weight and compact in size, they can be easily stored anywhere.
- Maintenance. The structure is easy to clean, using a cloth and a brush you will remove the remains of the material very easily.
- Economic. These models are quite economically priced, so if you embark on a tiling project, including them in the budget will not be a cost overrun.

Tile cutting step by step
Once you know the machine, it’s time to get down to work and start cutting tiles. To do this, follow the steps below:
- Assembly. Take the cutter out of its transport case and incorporate the parts that come loose, such as the cutting handle or the supports.
- Taking measurements. The first thing is to fix the cut on the tile, for this you need to take the right measurements and establish the cut mark on the piece. We recommend you to use a tile pencil.
- Presentation. Place the piece in the cutting area, matching the mark on the rail.
- Marking. Now it is time to pass the blade through, generating a first key incision for the separation of the piece.
-
Cutting. With the marking done, the handle is pressed so that the tile splits cleanly. This is achieved thanks to the weaker area created by the previous step.
As you can see, making a clean cut of a tile is quite simple. However, it is necessary to go from side to side of the piece. In those cases where you have to make an inside section, such as to save a column, you will have to resort to a radial saw.
Quality tile installation
It is time to start installing quality tiles. For these jobs it is important to be precise and use the best materials for the project. Remember that the work on the walls is more complex than on the floor. These are the basic materials you need:
- Tiles
- Rubber mallet
- Cutter
- Sandpaper
- Trowel
- Level
- Metro
- Cement glue
- Plastic crosses
- Paste for together
Of course, remember to bring your own safety equipment such as safety goggles and gloves. A hammer and chisel are also a must.
Base preparation
The first thing to do is to remove the old coating from the surface and sand it to make it uniform. Also, take the opportunity to cover any existing cracks. To leave it perfect you can use quick cement, it is important that it is as smooth as possible, but it is not essential.
Work approach
Prepare a scheme for the placement of the tiles. That is, consider whether they will go vertically or diagonally and what will be your starting point. The dimensions of your piece will serve as an indicator, choose the option that requires fewer cuts, it will be more comfortable.
Tile installation
Now it is time to prepare the tile adhesive. It is a simple process, just follow the manufacturer’s instructions and add the right proportions. With the adhesive prepared you will have to apply it both on the surface and on the tile.

It is important that you work row by row, use the level to make them perfect and use the rubber mallet to adjust them. To guarantee the fixation while they are drying, use the crosspieces, place them in the corners to make sure that all the joints are the same.
It will be in this part of the process that you will have to use the cutter for complex areas such as corners or edges.
Joint filling and finishing
With the surface completely installed and dry, it is time to fill the joints. To do this, the paste is used, you will have to prepare it following the instructions on the package. Use a trowel to distribute it correctly and clean the excess. When everything is dry, finish the job by wiping with a damp sponge.
Now you know all the guidelines for cutting and installing tiles. Now it’s time to get down to work, but you need the best materials. Get equipped in ParaTuReforma and make your tile project a reality quickly and accurately. Remember to prepare the base and lay out the work before you start using the tile cutting machine. Finally, fill the joints with the most suitable grout, you will get a perfect result.


