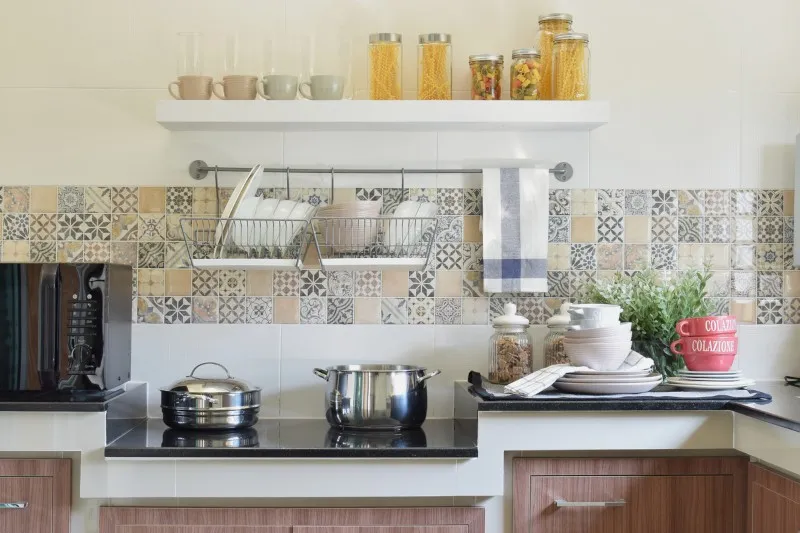
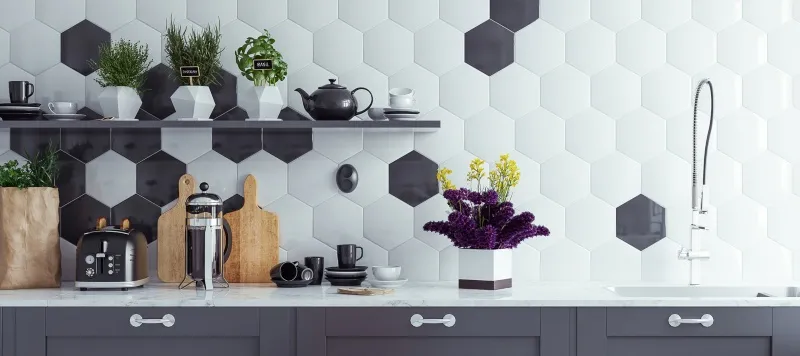
If you want to change the look of your home quickly and easily, one of the most affordable ways is to paint your kitchen tiles. In this article we tell you how to do it and answer all your questions so you can make a renovation without dust, debris, or so much budget.
Things you should know before you start
If you are new to remodeling your home, it is important to know what you will need before you begin.
You are probably wondering if the tiles of your dream kitchen are dream kitchen can be can be painted, and the answer is yes. You just have to do it with the right material and the right procedure. We tell you what are the essentials you need to give a facelift to your kitchen.
What you need
You can not paint the tiles with a normal paint, but you have to use a special tile paint. These glazes adhere well and are much more durable than the general ones. There are two types of paints specifically for this job: synthetic and acrylic, which have a matte, satin or gloss finish.
- Synthetic enamels have an oil base that creates a glossy finish. This type of paint is ideal for withstanding moisture, making it perfect for use in the kitchen or bathroom. Thanks to it, you can maintain the hardness, gloss and scratch resistance of your tiles.
- Acrylic enamels, being water-based, provide a less glossy finish; however, they are more environmentally friendly than synthetic paints, as they do not include solvents. In addition, acrylic enamel does not yellow over time and is stain resistant, making it the perfect choice for painting tiles in very light colors.
To create your masterpiece, in addition to paint, you will need:
- Joint marker
- Protective plastic
- Painter’s tray
- Solvent
- Sponge roller
- Paletina
- Protective tape
- Rags
- Masking tape
How to paint tiles: 4 steps

Tile painting is very easy to apply, just follow the instructions below and you will be finished in just 4 steps.
1. Clean and degrease the kitchen and protect furniture.
The first step before painting the kitchen tiles is to clean them thoroughly. Before you begin, we recommend that you protect the furniture with plastic, appliances and everything you have in the kitchen to avoid damaging them with paint or solvent. You can even remove anything that can be damaged from the area where you are going to paint. If the surface of the furniture is made of wood, try to cover it completely to avoid stains.
Once protected, the best option for cleaning is to use a solvent, as many of the usual cleaners leave a silicone film that, in the long run, only makes the surface dirty. However, if you don’t have any on hand, you can substitute with white vinegar, which is also excellent for removing dirt and scale buildup.
Finally, we recommend that you also protect faucets, switches, sockets and even the floor.
2. Get to work: paint the tiles
Fill the paint tray with the color of your choice and use the brush to outline the area to be painted.
If it is new, it is recommended that you put it in soapy water first. This will loosen the loose bristles before they have a chance to fall out while you paint.
Start painting around the faucets or outlets. Use the roller to apply more glaze evenly, being careful to make only vertical passes. This way, you’ll avoid leaving streaks or marks and create a more cohesive look. Be sure not to miss any spots, especially along joints.
If your tiles have a lot of texture, such as rustic tiles, the roller may not reach the joints. In this case, you can apply the paint with a brush beforehand. Once it is dry, use a roller over the entire wall.
3. Let dry and apply another coat
Wait the recommended time for the first coat of paint to dry before applying the second coat, where you will improve the imperfections.
Start in corners and other delicate areas with the brush and then you can use the roller on larger surfaces. Afterwards, let it dry and avoid getting it wet.
4. Mark the joints
You can make use of a white joint marker if you have painted the tiles a different color. However, there are many shades of joint marker available.
If you want to paint the tiles white or beige, a good option is to use a black grout marker, which will give the kitchen an elegant and modern touch.
Be sure to help yourself with a flat surface so that the lines will be perfect between each tile.
Painting tiles: advantages

One of the most stressful areas to renovate in a home are the kitchen and bathroom because these spaces directly influence the quality of life for families during the remodeling process. One practical solution that brings numerous advantages is to paint the kitchen tiles. This offers a new aesthetic to this room without having to spend too much money or endure the hassle of a more complex renovation. Let’s review some of the benefits of painting kitchen tiles:
- There is a wide variety of paints on the market, so the options are endless, both to imitate the original style and to dare with a groundbreaking design.
- It is a remodeling that does not require much investment.
- The paint helps to conceal any defects that the tile may have acquired over time, without the need to break the entire wall.
- The process is simple.
- This can be a very creative decorating experience that you don’t need to hire an interior designer for, you can do it yourself.
- By painting the kitchen tiles, you not only renovate the decor, but also repair any damage. This project will take you less time compared to a full renovation.
If your home has had the same tiles since you’ve lived there, painting over them can give your kitchen a much-needed makeover. A few years ago, dark tiles were popular, but now lighter colors dominate current decorating trends. Neutrals, such as white or soft gray, help brighten the room and make it more spacious and modern. Are you up for updating your home with this simple, inexpensive and full of possibilities project?


